Add or update a MyHMCTS user account
Updated 26 July 2023

漏 Crown copyright 2023
This publication is licensed under the terms of the Open Government Licence v3.0 except where otherwise stated. To view this licence, visit or write to the Information Policy Team, The National Archives, Kew, London TW9 4DU, or email: [email protected].
Where we have identified any third party copyright information you will need to obtain permission from the copyright holders concerned.
This publication is available at /government/publications/myhmcts-how-to-manage-user-accounts/add-or-update-a-myhmcts-user-account
1. Before you start
This guide is for MyHMCTS account administrators. Before you can add or update a MyHMCTS user account, you and your organisation must have completed other steps:
- Registered your organisation with MyHMCTS
- Set up your MyHMCTS user account
Please read the MyHMCTS registration guidance for further information and instructions. If your organisation has an account already, contact the existing administrator to arrange for your account creation.
Once you have a MyHMCTS account, you can sign in to using your email address and password.
2. View your organisation and user details
1. Once you have signed in, you will see a screen that shows the organisation details as registered.

2. If you need to change the organisation details, email [email protected]. Please provide the name of your organisation and the change of details.
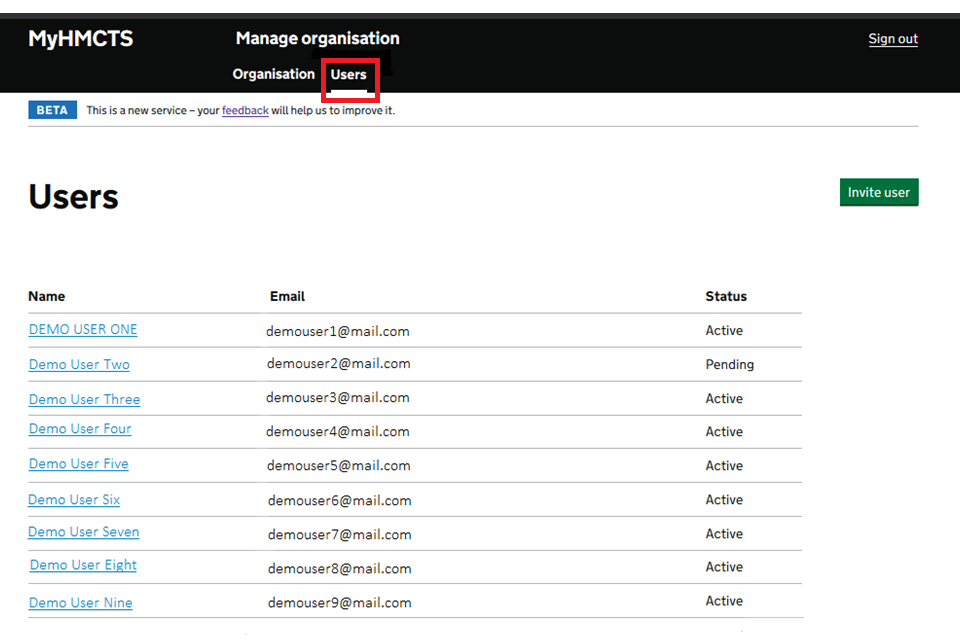
3. To see the full list of users that are part of your organisation, select 鈥楿sers鈥� in the black banner.
3. Add a user account
As an account administrator, you are responsible for inviting users to join the organisation鈥檚 MyHMCTS account. You can add as many users as you need.
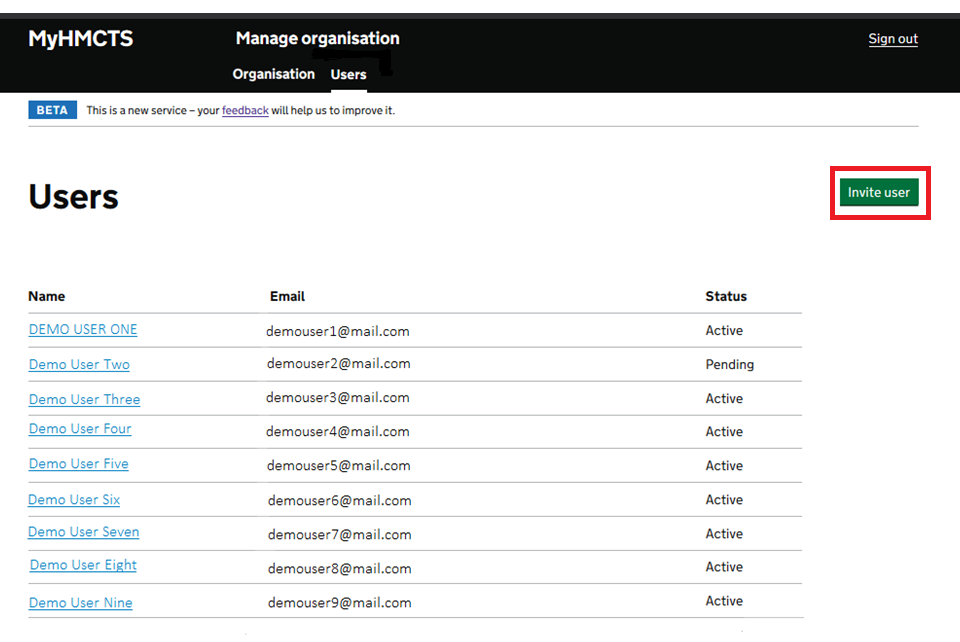
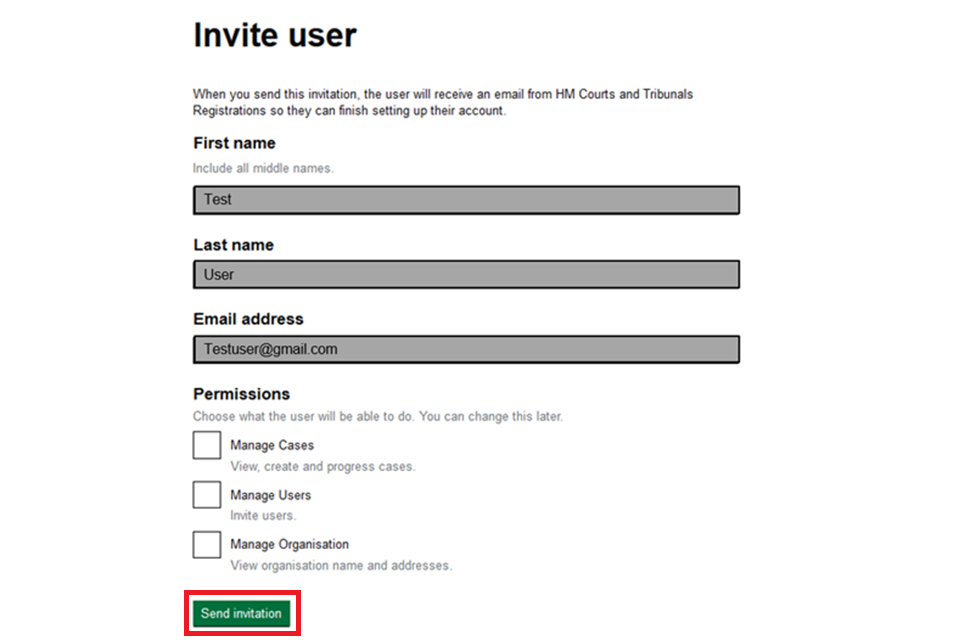
1. Within the 鈥楿sers鈥� tab, select the green 鈥業nvite user鈥� button.
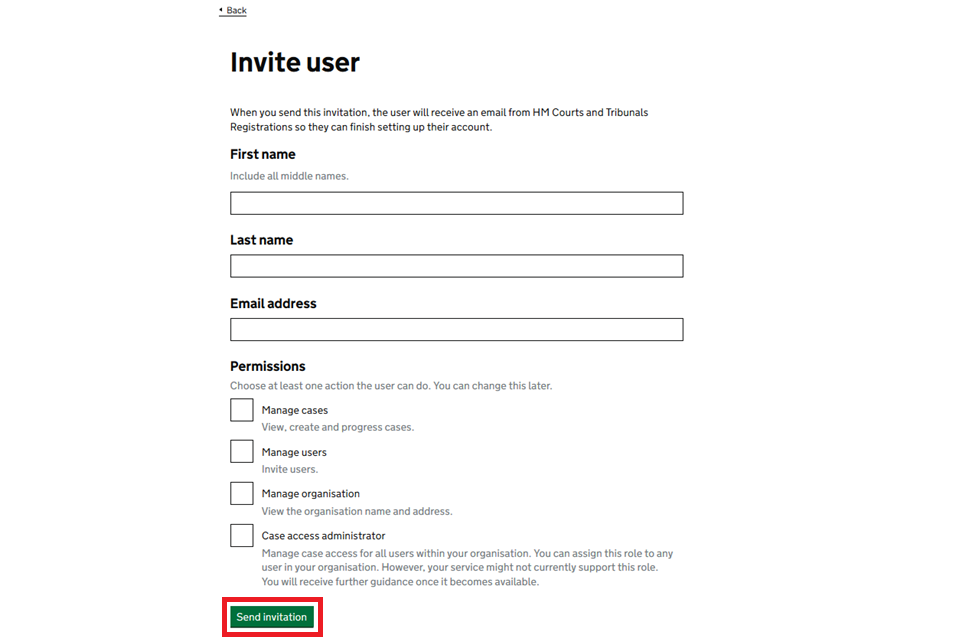
2. You will see a screen to enter the name, email address and select what access permissions you would like to give the user. Enter the user鈥檚 details and appropriate permission level, then select 鈥楽end invitation鈥�.
3. Once you have invited a user, they will receive a password creation request email to finish setting up the account.
4. They must create their password within 20 days. If the password is not created in time, you can re-invite them.
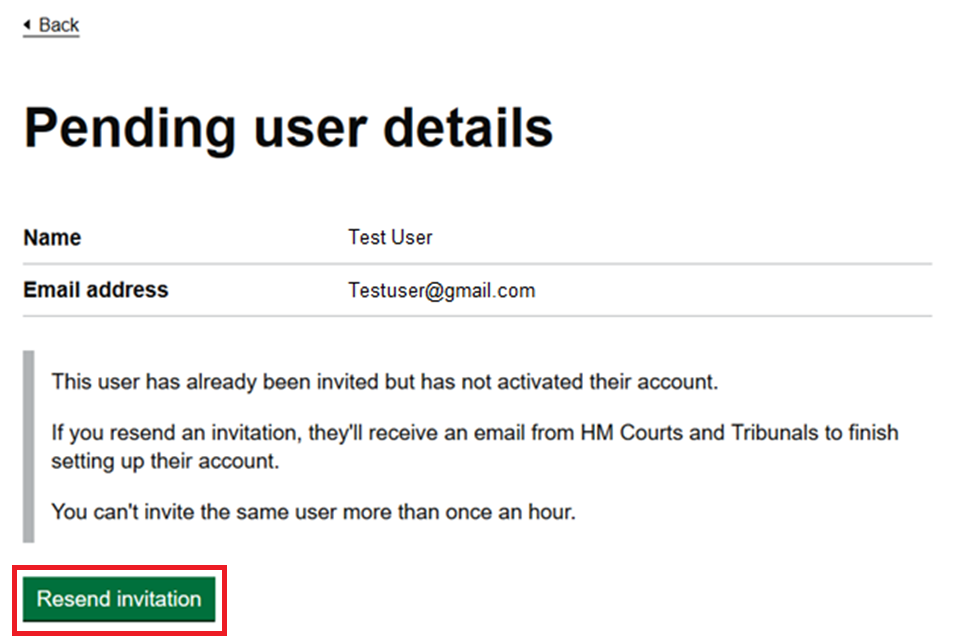
5. The users account status will display as pending until they have activated their account. You can view a user鈥檚 account from within the 鈥楿sers鈥� tab and by selecting the user鈥檚 name.

6. You will see a screen showing that the user has not activated their account. Select 鈥楻esend invitation鈥�.
7. You will then see a screen with the user鈥檚 details. Reconfirm what access permissions you would like to give them. Then select 鈥楽end invitation鈥�.
4. View and update a user鈥檚 account
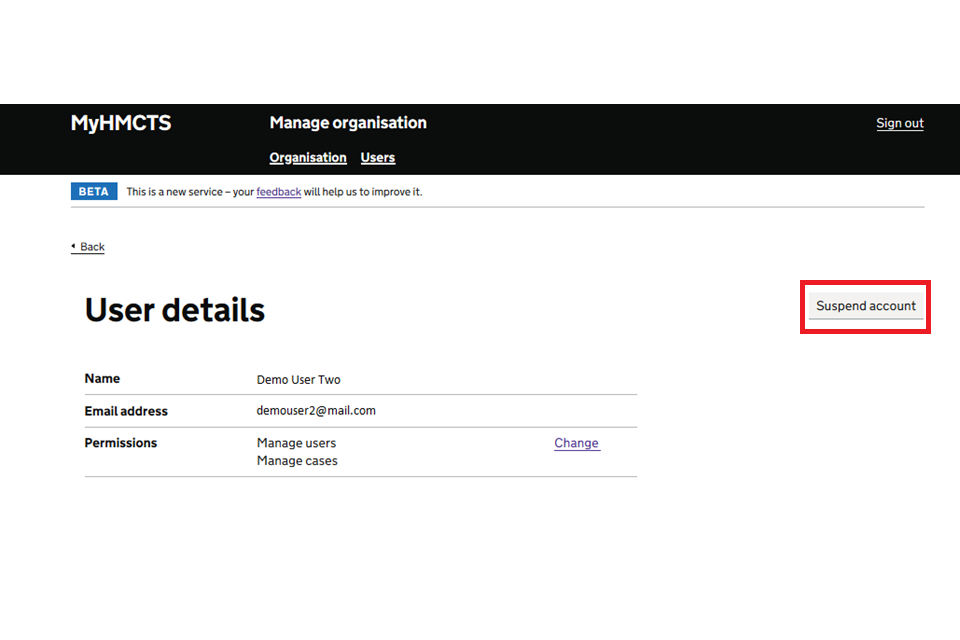
1. You can view a user鈥檚 account from within the 鈥楿sers鈥� tab, by selecting the user鈥檚 name. A screen showing that users details will appear.
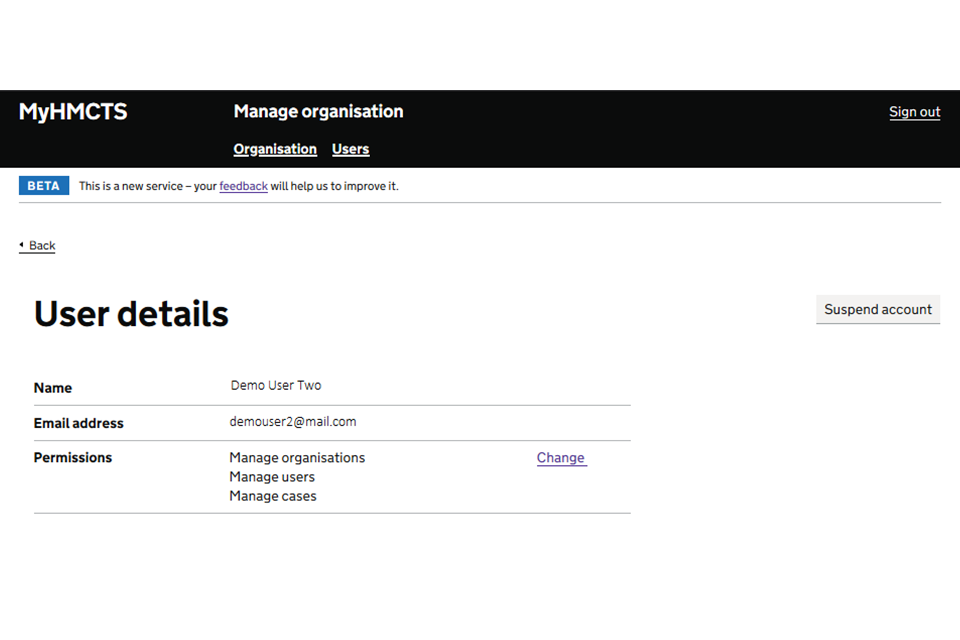
This will tell you the user鈥檚 name, email address and the access permissions. This will help you confirm if you need to update the account.
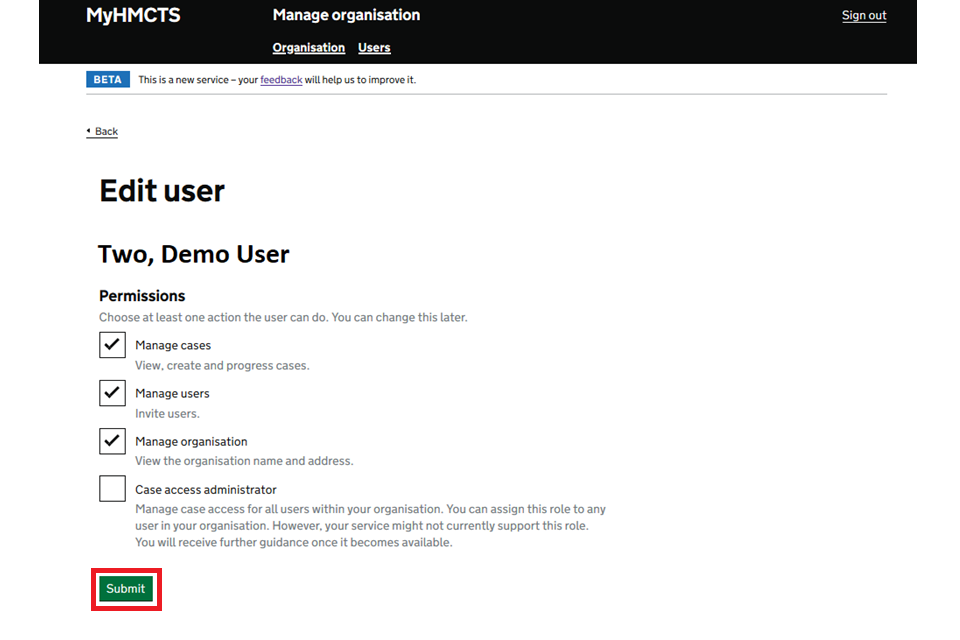
2. To update the access permissions select 鈥楥hange鈥� next to the permissions. You will see a screen that allows you to select or unselect permissions. Choose the correct permissions, then select 鈥楽ubmit鈥�.
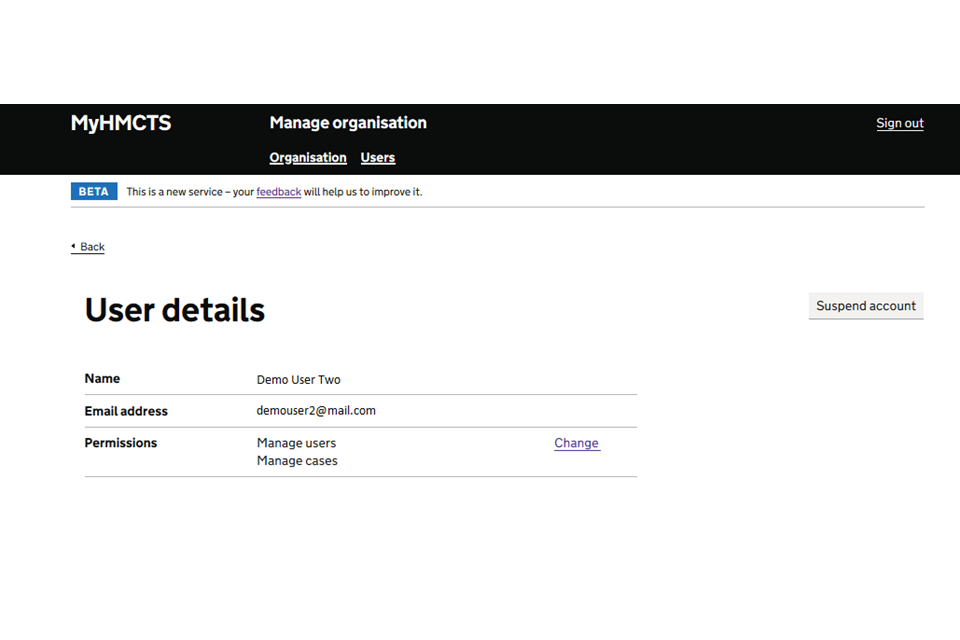
You will return to the account details with the updated information.
5. Remove a user鈥檚 account access
You can remove a user鈥檚 account access if they have left the organisation. You do this by 鈥榮uspending鈥� their account.
Before suspending a user鈥檚 account, you must make sure their cases have been shared. The user should do this before they leave. If they do not, you must do so before suspending the account. You can do this for the services that have the 鈥榮hare a case鈥� functionality.
For services that do not have share a case functionality, the cases must be removed from MyHMCTS. Contact the service for the user鈥檚 cases to tell them the user is leaving or has left. Ask for the email be updated to another user to receive future notifications. Any affected cases will revert to the paper process for that service.
1. Select the user鈥檚 name from within the 鈥楿sers鈥� tab. Then select 鈥楽uspend account鈥�.
Suspending an account removes the user鈥檚 access immediately and they will not be able to login to MyHMCTS.
Do not suspend an account if you need to re-invite the user because of an error in their email address or name. If the error is in the name or email address you can re-invite the user with the correct details.
If an account has been suspended in error, contact [email protected] to ask for the account to be unsuspended. Include the reason the account needs to be unsuspended.
6. Add an account administrator
You can appoint an account administrator at the invitation stage (1) or any time after their account has been created (2).
1. In the 鈥榠nvite user鈥� screen when adding a user, enter the users details and select all 4 permissions levels. Then select 鈥楽end invitation鈥�.

2. Follow the steps to edit a user, then on the 鈥楨dit user screen鈥� make sure all boxes are checked. Then select 鈥楽ubmit鈥�.

7. Get help with MyHMCTS
Accessing and managing your MyHMCTS account
If you are having trouble accessing MyHMCTS, make sure you are using the correct link:
-
to manage the organisation or a user鈥檚 account, or to view assigned and unassigned cases, use
-
to manage a case, use
You should also make sure you:
-
check your internet browser is up to date 鈥� we recommend you use Google Chrome or Microsoft Edge (you cannot use Internet Explorer or Apple Safari)
-
clear your cookies and your cache
-
check your firewall and security settings
We recommend that you bookmark or favourite MyHMCTS in your internet browser. You should only create the bookmark or favourite once you have signed in and are on the homepage. Do not create it from the sign in or verification pages, or while you have a case or organisation open.
If you are still having trouble accessing MyHMCTS, try using a different device to sign in.
If you have an IT support team, they will be able to help with any device, browser and security issues.
If you need additional support with your MyHMCTS account, email [email protected]. We aim to respond within 5 working days.
Managing cases and case access in MyHMCTS
Find guidance for case administration tasks in MyHMCTS, including filing a notice of change.
If you need support with a particular case or with managing a case in MyHMCTS, see the appropriate service guidance to find out who to contact.
Find a list of links to service guidance in our guide on submitting or responding to an application.